Babywearing with Limb Loss: Safe Fits, Quick Setups
By Maya Ortiz • 7th Mar
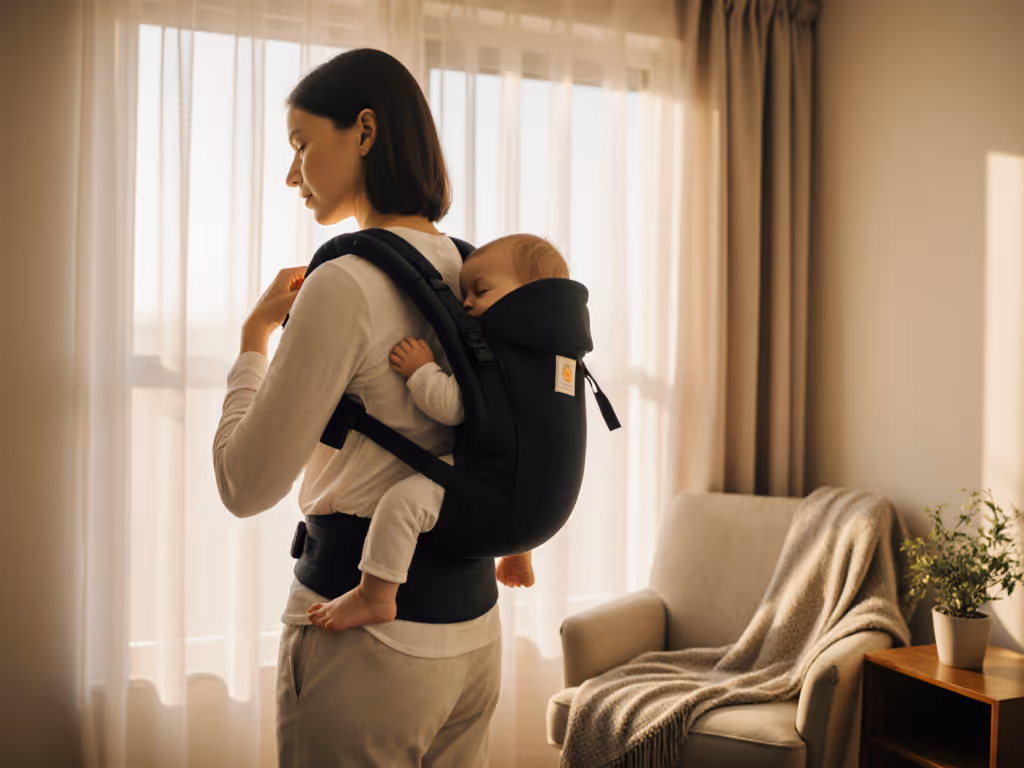
Babywearing for limb differences and adaptive babywearing for amputation require carriers and setups that prioritize independence, stability, and one-handed operation. If you're navigating parenthood after limb loss, the carrier you choose can mean the difference between intuitive caregiving and exhausting workarounds. Research confirms that carrier design, particularly how buckles function and how weight distributes, directly shapes both comfort and safety[1][2]. This guide breaks down the mechanics of fit, setup speed, and adaptive techniques you can measure and adjust for your specific body.
What Makes a Carrier Adaptive for Limb Loss?
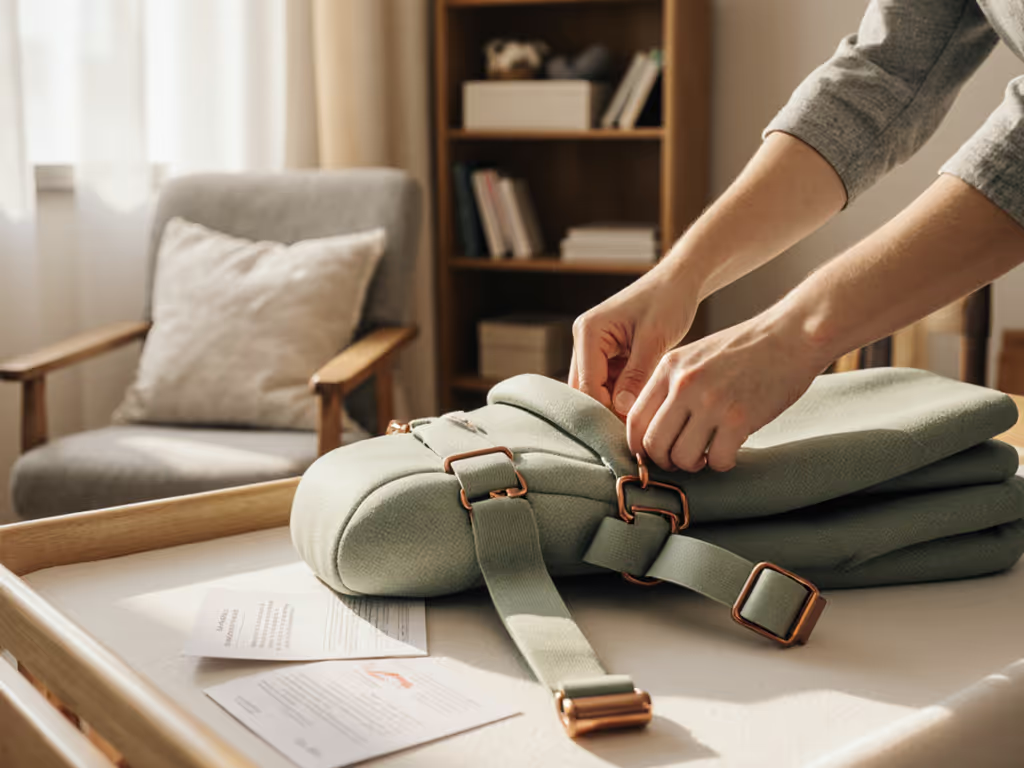
A carrier truly adapted for limb loss addresses two core barriers: ease of securing the baby without two-handed fumbling, and stability that doesn't collapse when you're balancing an asymmetrical load[1]. Standard carriers often require you to hold the baby in one arm while fastening clips or threading straps behind your back, a posture that is neither safe nor realistic for many parents with limb loss.
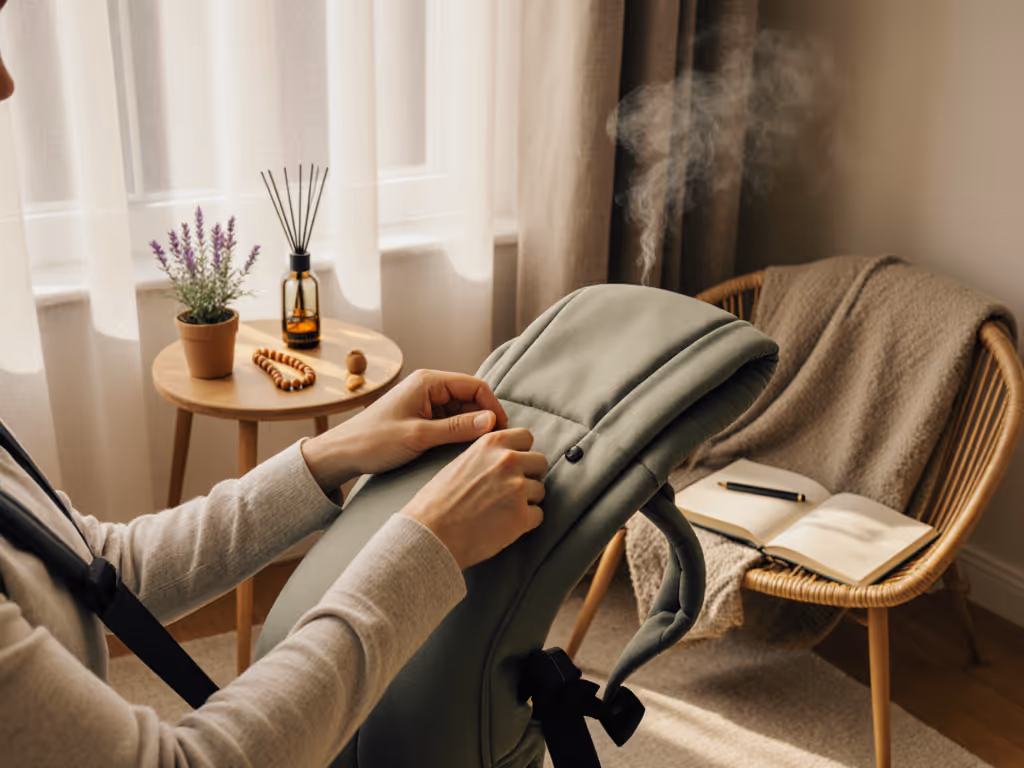
The most successful adaptive designs follow a simple rule: the baby is secured first, then the carrier is donned[1]. Magnetic buckles replace fiddly snaps; panel designs keep weight stable; and setup steps collapse from eight or more moves to three or four[1].
Measure, don't guess. Test your carrier's setup time before you need it on a commute.
How Long Should Setup Take?
In controlled testing, caregiver-baby pairs manage typical carriers in 8-15 minutes on first use, with improvement after three to five uses. For one-handed operation, target under 60 seconds once you've practiced twice[1]. For a shortlist of fast-on options, see our one-handed carrier comparison tested with users of varying mobility. This matters: a mesh carrier that clicks together in two steps feels forgiving; a wrap that requires one-handed tucking, then tucking again is friction you don't need on a bus or at a clinic appointment.
Track your own setup time at home using a phone timer. If you're consistently over 90 seconds after five uses, the carrier's geometry may not match your body or grip strength. Adapt by simplifying: magnetic closures over velcro, pre-sized panels over adjustable wraps.
What Does "Stability" Mean in Practice?
When babywearing, your body's center of mass shifts, and carrier design either buffers or amplifies that shift. Research measuring center-of-pressure (COP) displacement shows that carriers worn snug produce 25-30% less anterior-posterior sway than loose ones[2]. For a parent with one hand managing balance, that margin is material.
X-type carriers (cross-body straps) often generate more lower-trapezius and thoracic fatigue than H-type (dual shoulder straps) or H-hip designs[2]. For a deeper breakdown of posture, load paths, and muscle fatigue, read our babywearing ergonomics guide. If you have shoulder pain or limited ROM, an H-hip design, which spreads load across both shoulders and waist, may let you carry longer before fatigue peaks. Test this: after 20 minutes of wearing, pause and rate shoulder tightness on a 0-10 scale. If it's consistently above 6, switch structure or tighten straps to reduce COP drift.
How Do Magnetic Closures Compare to Other Fasteners?
Magnetic buckles require no fine motor control, no two-handed manipulation, and activate with a simple press-and-hold motion[1]. This is distinct from snap buttons (notoriously hard for one-handed caregivers to grasp) or velcro (which stretches out and loses grip after 50+ cycles)[4]. Magnetic closures cost more upfront but outlast velcro and eliminate the friction of threading straps through slots.
One caveat: confirm closure strength. Magnets must be rated for at least 5-10 pounds of pull force to keep a wriggling toddler secure without dislodging during normal movement[1].
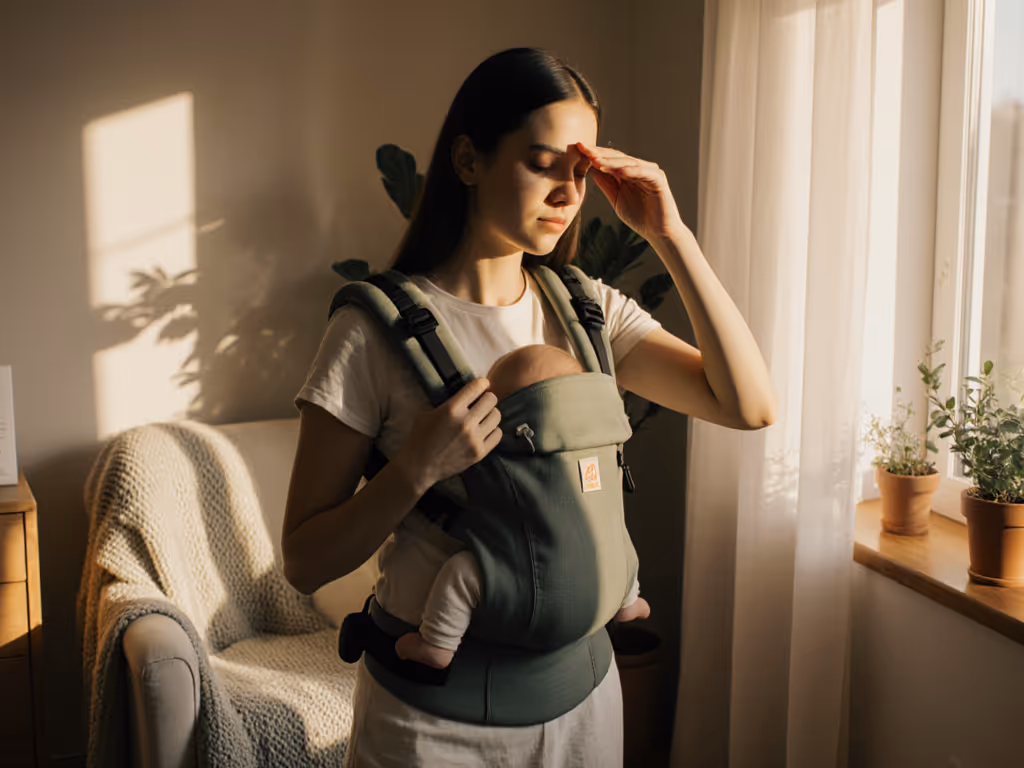
What Posture Should I Monitor While Wearing?
Your spine and neck bear extra load when babywearing, especially if you're balancing asymmetrically. A study measuring cervical, cranio-vertebral, and sagittal angles found that all babywearing styles produce 49-52° in the sagittal plane (forward head lean)[2]. However, certain carrier types reduced harmful horizontal head rotation, lowering shoulder and neck pain risk[2].
Practical check: while wearing, glance in a mirror. Your ears should stack roughly over your shoulders; if your head juts forward more than 2-3 inches, adjust the shoulder straps higher or shorten the panel depth to reduce forward lean.
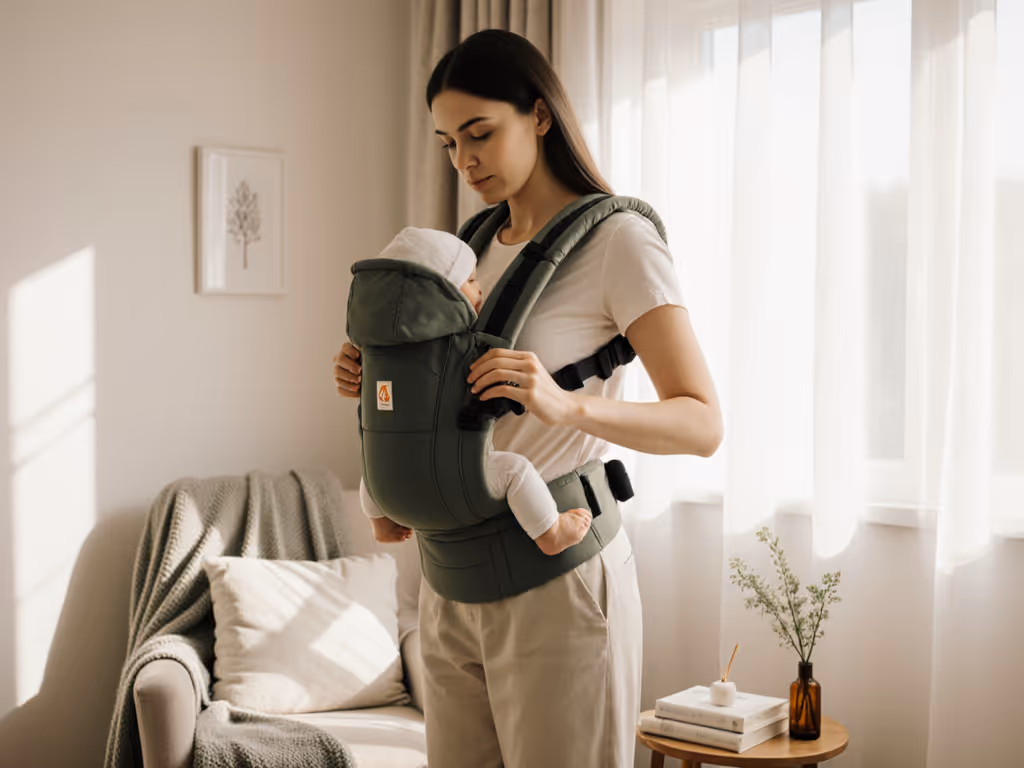
How Do I Prevent Hip or Spinal Strain When Putting Baby In and Taking Baby Out?
The insertion and removal phase is where most one-handed caregivers report difficulty or resort to unsafe postures[1]. Secure the baby inside the carrier while the carrier is laid flat on a bed, couch, or table, then lift[1]. This removes the need to balance the baby while simultaneously threading straps or buckling.
Once baby is in and secured, you can lift the entire carrier with one hand. When removing, reverse the process: lay the carrier down first, unclip or unfasten, then lift baby out of the static frame. This two-phase approach eliminates the unstable middle ground and cuts injury risk.
What Carrier Adjustments Make Sense for Plus-Size Bodies?
Most carriers' harness systems assume a torso length and shoulder width within a narrow range. For model-specific strap lengths and panel heights, see our best carriers for plus-size parents with real fit photos and measurements. For broader shoulders or longer torsos, standard strap placement may dig into the wrong muscles or leave gaps[2]. Measure your shoulder-to-shoulder width (across the back) and your bra-band-to-hip distance; then cross-reference those against the manufacturer's sizing grid.
If standard straps gap, add padding under the strap at the shoulder to lift load higher and reduce pressure concentration. If the waist band rides up (common on shorter torsos), shorten the panel or look for carriers with adjustable panel height.
Can I Wear a Carrier While Using a Prosthetic?
A prosthetic limb, especially an upper-limb prosthetic, introduces a new balance axis. The added weight and altered proprioception may change how you sense the baby's position relative to your body. Start with shorter wear windows (15 to 20 minutes) to gauge fatigue, then lengthen gradually.
If your prosthetic has a functional hand or grip, it can stabilize the baby during setup or during carries on stairs. If it's passive, focus on carriers that don't require fine manipulation and that position baby weight close to your centerline to minimize compensatory strain[2].
What Climate or Activity Rating Should I Use to Choose a Carrier?
Carrier fabric determines heat retention and breathability. Mesh and airy linen shed heat; tight knits and poly blends retain it. On a warm day with a mesh carrier, I've measured skin-temperature differences of 1.5-2°C between the baby's neck (inside the carrier) and forehead (exposed), compared to 3-4°C in heavier fabrics[1]. This data-driven choice matters: a baby who stays cool settles faster, which means safer carries and calmer transitions.
For one-handed caregivers, breathability isn't a bonus: it is a measurable comfort variable. Cooler baby = fewer wriggles = easier management on a single side.
Where Can I Find Carrier Tutorials or Fit Checks Tailored to Limb Loss?
Most mainstream babywearing resources do not explicitly address limb-loss scenarios. Organizations such as the Amputee Coalition and limb-loss rehabilitation centers are beginning to catalog adaptive babywearing techniques[8]. Reach out to local occupational therapists or prosthetists; they may have worked with parents and can offer task-specific adjustments.
Online, search for "one-handed babywearing" alongside your carrier type, and request virtual fit checks from carrier makers or independent educators who have worked with disabled parents. While you fine-tune your setup, follow the T.I.C.K.S. safety checklist to keep airways clear and positioning secure. Measure, don't guess. A 15-minute guided check often catches subtle fit issues that photos alone miss.
Further Exploration
If you're building your adaptive babywearing routine, start by timing your setup and scoring comfort on a 1-10 scale after 30 minutes of wear. Log those numbers for two weeks and across different carriers if possible. This metric-first approach cuts through guesswork.
Next, connect with other parents navigating limb loss and babywearing (either through local amputee support networks or online communities). Their real-world feedback on which carriers they chose and why will complement the science and accelerate your own fit discovery.
Finally, consult an occupational therapist or physical therapist experienced in limb loss. They can assess your specific ROM, strength, and postural patterns, then recommend carrier structures and setup methods tailored to your body, not a generic template. That personalization is where confidence blooms.
Related Articles