Babywearing for Photographers: Top Hands-Free Artist Carriers
By Avery Sullivan • 31st Dec

For photographers building their creative practice while nurturing new life, babywearing for photographers isn't just convenient, it's essential workflow infrastructure. When you're balancing lighting equipment, client interactions, and precious creative flow, creative professional carriers transform chaotic moments into seamless transitions. I've coached countless artists who arrived at our sessions frustrated by carriers that required them to stop completely, missing golden-hour shots while wrestling with straps. What they needed wasn't just any carrier, but one designed for the precise rhythm of artistic work (where seconds saved mean compositions captured).
Why Babywearing Is Your Secret Creative Asset
As a photographer myself (and former overwhelmed new parent), I've seen how the right carrier doesn't just hold your baby, it holds your creative space. When you're in the middle of a session and your little one needs attention, you don't have time for elaborate adjustments. That's why I started measuring carriers not just for comfort, but for creative workflow preservation.
Fast, calm setups turn chaos into competence you can feel.
Babywearing for photographers solves three critical pain points:
- Hands-free continuity: Keep adjusting lights, checking settings, and connecting with clients without breaking rhythm
- Emotional availability: Your baby stays close for comfort while you engage in your craft
- Physical sustainability: Prevent strain when carrying gear plus baby during outdoor shoots
That's why I now include carrier setup time in my studio coaching sessions, because when you're half-asleep after a night feed (like I was during that 2 a.m. diaper emergency), knowing your carrier requires just one repeatable sequence keeps everyone calm and connected.
What Makes a Carrier Truly Photography-Friendly?
Not all carriers serve the unique demands of creative professionals. Here's what to look for through an artist's lens:
Safety Checkpoints First
Before considering convenience, verify these non-negotiables:
- Visibility: Can you maintain eye contact with your baby without straining your neck?
- Access: Is your baby's airway visible with a single glance? (Critical when you're focused on your camera viewfinder)
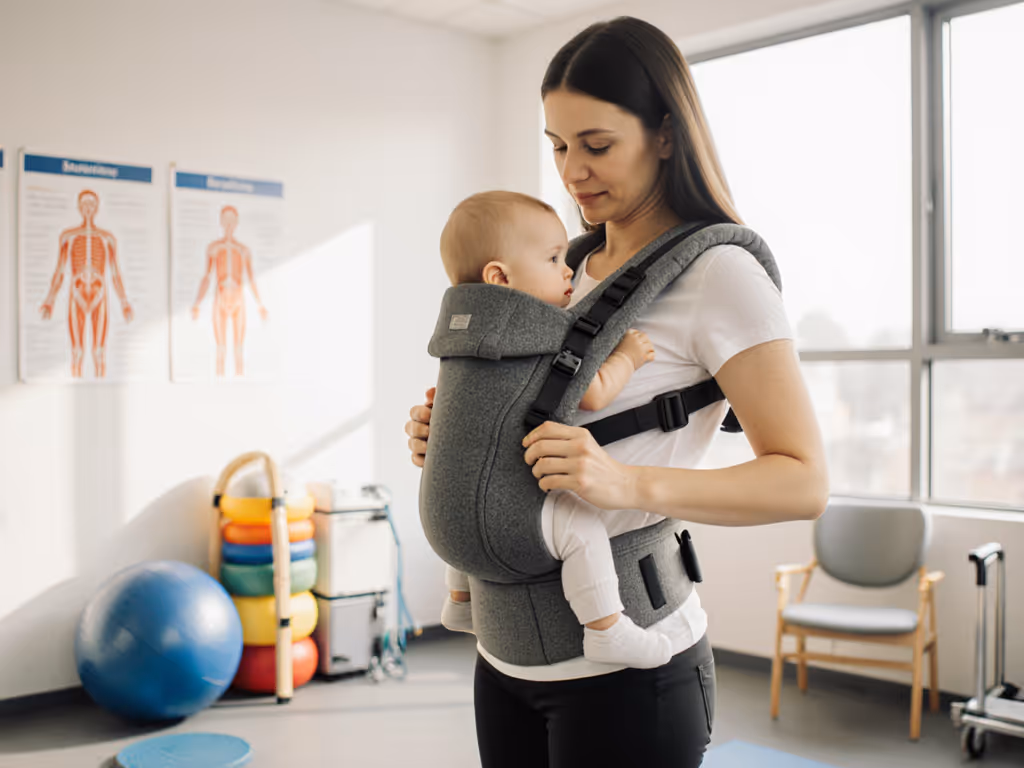
- Position: Does the carrier support ergonomic M-positioning without compromising your shooting posture?
Photographers with larger camera equipment often need to lean forward, a movement that can compromise baby positioning in lesser carriers. I recommend doing the "3-second check": while mimicking your shooting stance, verify your baby's chin isn't resting on their chest and their knees are higher than their bottom (hip-healthy M-position).
Cognitive Load Rating
This is where many photographers get tripped up. When your creative brain is in flow state, you don't want to switch to "carrier adjustment mode." Following my core principle, I've developed gentle, time-stamped steps that photographers can internalize:
- Minimal adjustment points (under 3): Fewer buckles mean faster transitions
- Self-correcting straps: Fabric that naturally settles into position reduces cognitive load
- Tactile markers: Subtle texture changes that let you adjust without looking
The magic happens when you reach the point where your carrier becomes invisible to your conscious mind, just like your camera settings when you're in the zone. That's when you know your muscle memory has kicked in.
Your Studio Workflow Solutions
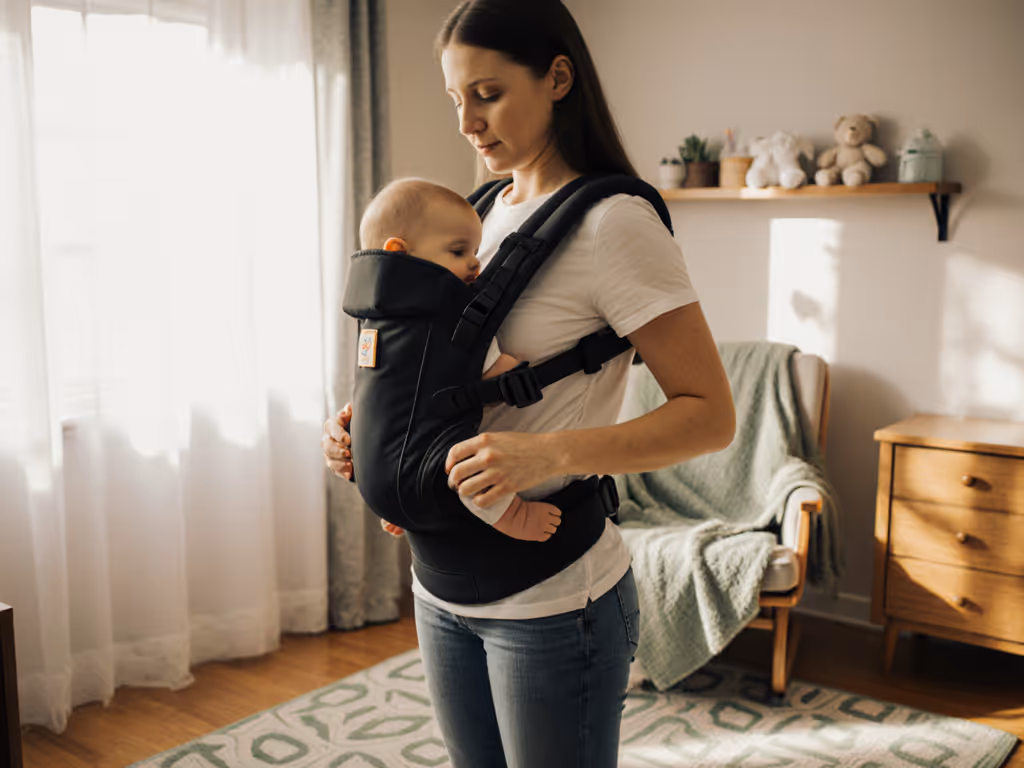
For Portrait Sessions: Front-Facing Carriers
Babywearing for studio work requires carriers that won't interfere with client interactions while providing baby comfort. Look for:
- Ultra-slim profiles that don't create bulk under your arms (critical for natural posing)
- Breathable mesh panels (you'll be warm under studio lights)
- Front pockets that hold your phone or small lens caps
Safety checkpoint: Can you easily lift your baby in and out without twisting your torso? If your carrier requires back strain to remove, it's not studio-ready.
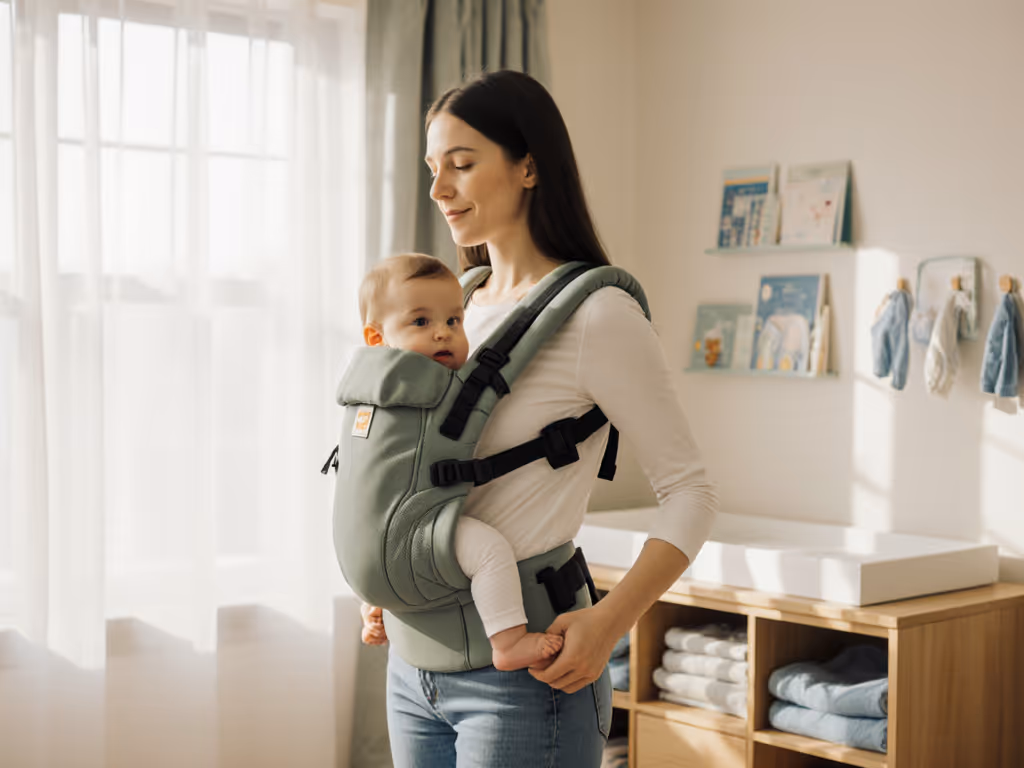
For Outdoor Shoots: Hip Carriers
Want freedom to move while maintaining connection? Hip carriers excel for:
- Walking shoots where you need balanced weight distribution
- Quick transitions between holding your camera and your baby
- Situations where you want baby to observe (but not interfere with) your work
Pro tip: Practice the "one-handed hip slide" maneuver during calm moments (this lets you transfer baby to your hip while keeping one hand free for your camera). My photography clients who master this technique gain an average of 17 minutes per session in recovered shooting time! For heat-heavy outdoor sessions, use our summer babywearing tips to stay cool without compromising safety.
For Editing Time: Nursing-Friendly Options
Post-shoot editing often coincides with baby's feeding time. If you're new to feeding on the move, see our nursing in carriers guide for safe positions and quick adjustments. Photography-friendly baby carriers should allow:
- Discreet nursing access without full removal
- One-shoulder adjustment for quick access
- Machine-washable fabric (because let's be honest, studio snacks happen)
I've created a 5-minute "edit-and-feed" practice sequence that helps photographers build confidence in this delicate balance. The key is establishing clear visual references for proper positioning, so you can focus on your screen while keeping baby safe.
Building Your Artistic Workflow Babywearing Practice
Start with the "5-Minute Setup Sequence"
- Before baby arrives: Practice donning the carrier empty with your eyes closed (builds tactile memory)
- First week: Time yourself 3 times daily, don't worry about speed, focus on smoothness
- Week two: Introduce baby during calm moments, using plain language cues: "Now we're nestling you close for our creative time"
- Week three: Practice transitions between shooting positions and baby checks
This repeatable sequence builds the confidence that lets you focus on your art without anxiety.
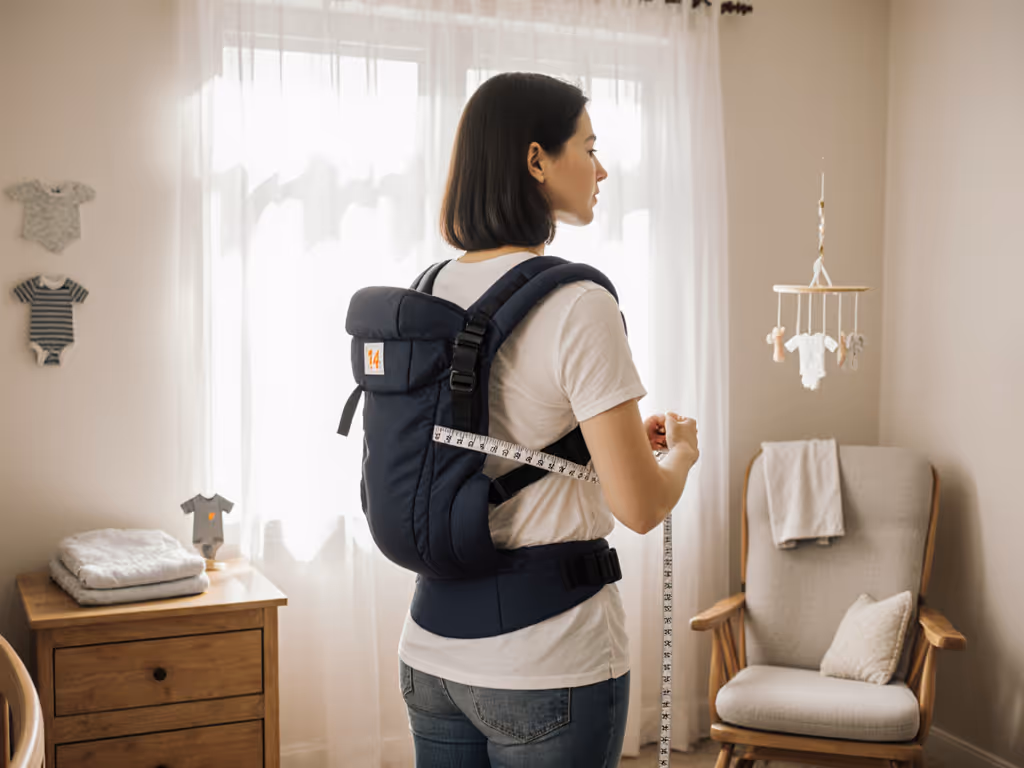
The Photographer's Setup-Time Test
When evaluating carriers, try this real-world scenario:
- Set up a mock camera station
- Have someone hand you a baby who needs immediate comfort
- Time how long it takes to get baby safely positioned while maintaining awareness of your "workspace"
If it takes more than 45 seconds consistently after your first 10 practices, that carrier likely won't serve your artistic workflow babywearing needs. Remember: Slow is smooth; smooth becomes fast.
Safety Considerations Unique to Creative Work
Artists face specific challenges that require extra attention:
- Tripod proximity: Ensure wide leg straps won't catch on equipment
- Cable management: Avoid carriers with dangling straps near electrical cords
- Lighting awareness: Dark-colored carriers show less dust and pet hair from studio animals
- Color coordination: Light fabrics show less against white backdrops
For photographers with physical limitations (common after lugging heavy gear), prioritize carriers with front-adjusting waistbands that distribute weight without shoulder strain. For deeper setup and posture tweaks, our ergonomics in babywearing guide breaks down hip-loading, lumbar support, and shoulder relief for long days. Many of my photographer clients with shoulder issues find relief with carriers that transfer 70% of baby's weight to the hips (verified by physical therapists specializing in creative professionals).
Building Your Confidence, Shot by Shot
The most transformative moment for my photography clients isn't when they master the carrier, it's when they realize babywearing has enhanced their creative process. Babies settle faster when they're part of your workflow rather than separate from it. Your authentic connection becomes part of your artistic signature.
That's why I end every session with the same reminder: "Your best creative work happens when you're present, not perfect. Let your carrier hold the worry so you can hold the moment."
Your Actionable Next Step
This week, before your next shoot, practice what I call the "3-Breath Transition":
- First breath: Remove camera from your neck (if wearing)
- Second breath: Position baby into the carrier with one smooth motion
- Third breath: Return camera to shooting position
Time yourself. Repeat 5 times. Notice how your speed increases while your calm deepens. Document your starting time and your time after 5 repetitions, you'll see concrete proof that your workflow is becoming more sustainable.
Then, take one photo of yourself with baby secured before you begin your next shoot. This visual record does two things: it verifies your safe positioning, and it creates a beautiful reminder of this creative chapter. Share it with #PhotographerBabywearing so we can build community around this essential artist practice.
Because when you're wearing baby with intention and precision, you're not just carrying your child, you're carrying forward the legacy of creative parents who refused to choose between their art and their family. And that's a composition worth preserving.
Related Articles