Safe Baby Carrier Repairs: DIY Guide & Safety Checks
By Avery Sullivan • 12th Jan
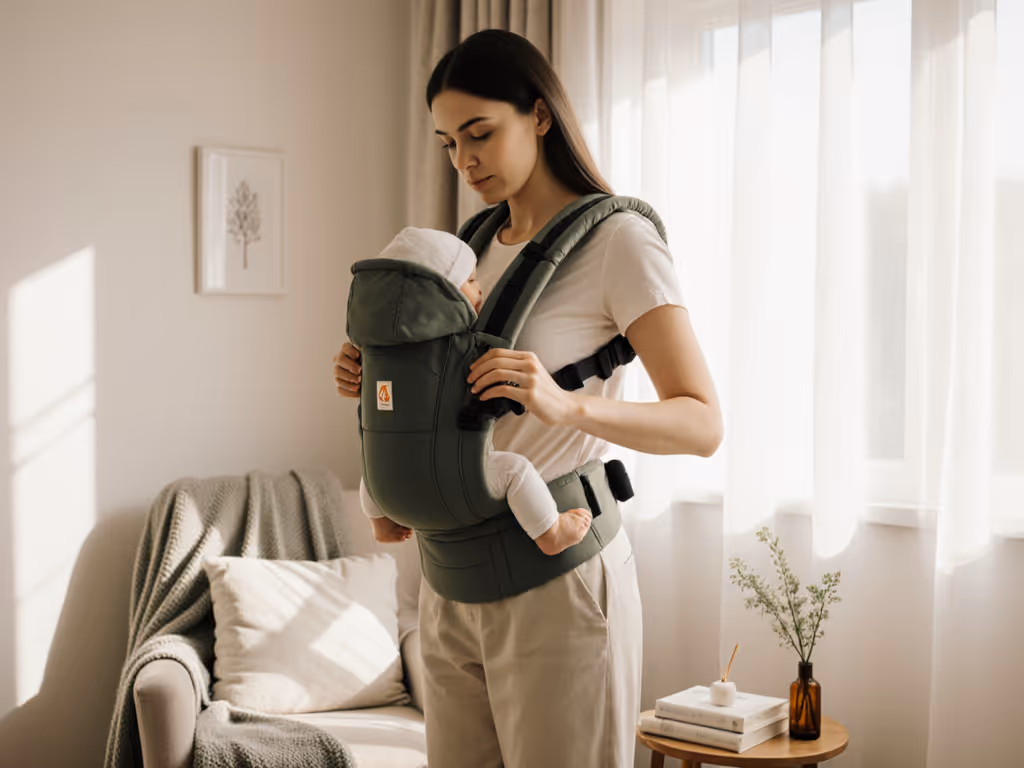
Every caregiver knows that sinking feeling when your go-to baby carrier shows its first sign of wear. Whether it's a small pull in the fabric or a fraying seam, the question hits immediately: Can I fix this safely? As someone who measures carrier confidence in seconds saved and calm gained, I understand why this matters so deeply. When you're sleep-deprived and trying to contain a diaper leak with a squirmy baby, you need gear that works, flaws fixed without fear. That's why this baby carrier repair guide focuses on what's truly safe to do yourself while respecting how much upcycling baby carriers means to your budget and peace of mind.
Check airway, then carry on
Can I Really Repair My Baby Carrier Myself?
This question brings so much anxiety, and it's completely valid. Baby carriers are engineered safety devices, not just fabric and straps. For day-to-day wearing, review the TICKS safety guidelines to verify airway, positioning, and visibility. The Baby Carrier Industry Alliance emphasizes that carriers are "durable nursery products" subject to strict CPSIA regulations for good reason, your baby's safety depends on it.
Here's the clear boundary:
- ✅ Safe for DIY: Minor fabric pulls, small seam reinforcements on non-structural sections, and surface-level cleaning issues
- ❌ Never attempt: Repairs to straps, buckles, waistbands, or any load-bearing components
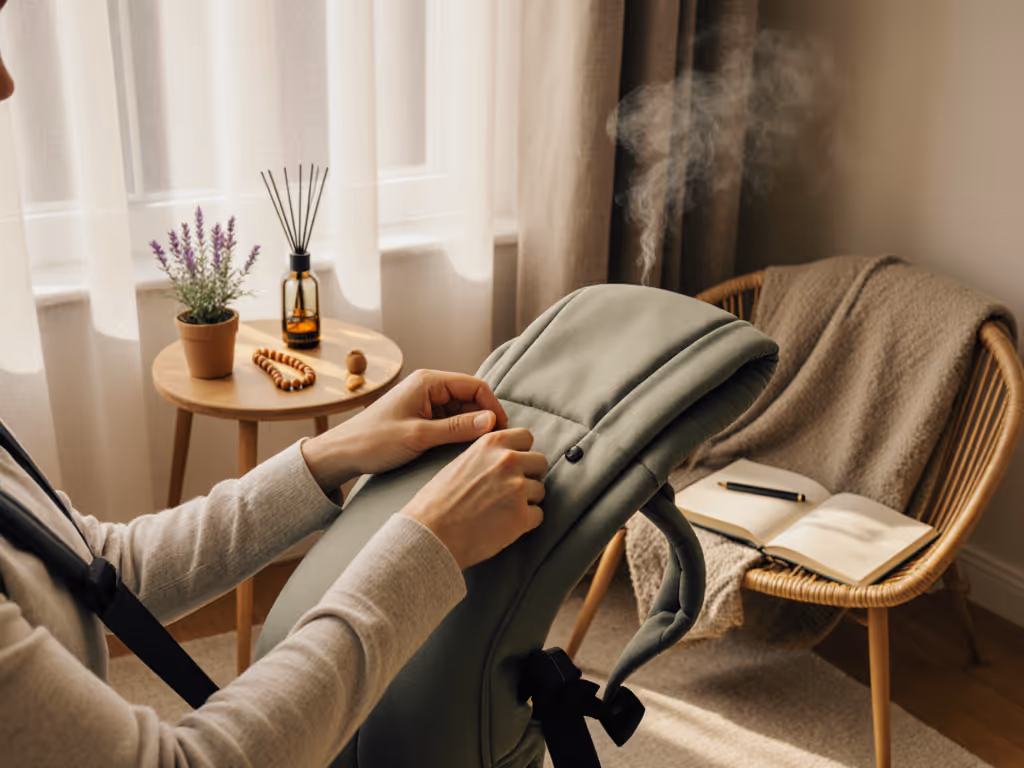
A carrier I reviewed recently had a tiny snag that looked alarming but was actually just a surface pull (perfect for a simple fix I'll show you below). But if your carrier's buckle mechanism is loose or the waist strap stitching is unraveling where it connects to the main panel? That's a retirement signal, not a repair opportunity. To prevent minor issues from becoming major, follow our baby carrier care guide for cleaning, drying, and safe storage.
What Minor Repairs Are Actually Safe to Do?
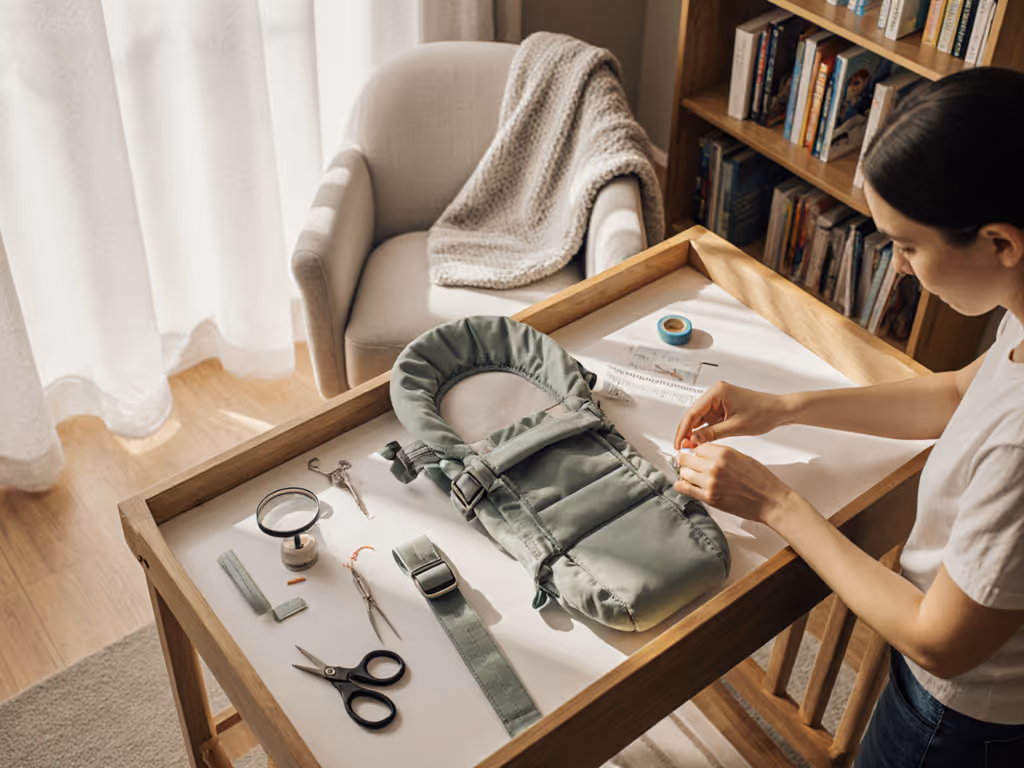
Fixing Fabric Pulls (Snags)
Gentle, step-by-step steps for mending those annoying fabric pulls that happen when your carrier catches on a doorknob or zipper:
- Safety checkpoint: Lay the carrier completely flat and inspect, then only proceed if the pull is only in the outer fabric layer, not affecting the structural weave beneath
- Use a blunt needle (size 24-26) to gently tease threads back into place from the back side of the fabric
- Apply slight tension outward from the pull in multiple directions (like 12 o'clock, 3 o'clock, etc.)
- Finish by smoothing the fabric with the back of a spoon to reset the weave
This technique works beautifully for woven wraps and ring slings with minor pulls, the same method I used on that middle-of-the-night carrier rescue that taught me how much setup time matters when nerves fray. Fast, calm setups turn chaos into competence you can feel.
Reinforcing Non-Critical Seams
For seams that aren't load-bearing (like pockets or decorative elements):
- Safety checkpoint: Verify it's not a seam connecting straps or supporting weight, when in doubt, retire the carrier
- Thread a needle with strong polyester thread (not cotton, it degrades faster)
- Stitch a simple whipstitch along the weakened section, keeping stitches small (1/8 inch)
- Knot securely at both ends and trim excess thread
Remember: Carrier safety after repair depends entirely on whether you respected the structural integrity. If you're unsure, assume it's unsafe.
What Repairs Should I NEVER Attempt?
This is non-negotiable territory where DIY carrier repairs cross into dangerous territory:
- Buckle or clip mechanisms: These undergo rigorous safety testing, no household fix can replicate that
- Waistband connections: Where the waistband meets the main panel is a critical stress point
- Shoulder straps: Any fraying near adjustment sliders requires replacement
- Head support systems: In carriers designed for newborns
The 2022 Baby Carrier Manufacturing Guide states that "if you cannot comply with the guidelines and regulations, please do not try to wing it." When a carrier's structural integrity is compromised, no amount of stitching can restore its original safety rating. I've seen caregivers try to reinforce straps with duct tape or sew new buckles on, and these are exactly the kinds of risky shortcuts that undermine baby carrier maintenance as a safety practice. If you’re using a newborn-ready carrier, double-check head and neck support with our newborn carrier safety guide.
How Do I Test My Repaired Carrier for Safety?
Before placing baby in a repaired carrier, run through these safety checkpoints:
- Weight test: Load carrier with 15-20 lbs of weight for 30 minutes, check for stretching or stress at the repair site
- Pull test: Apply steady pressure to the repaired area, it shouldn't feel any give or looseness
- Visual inspection: Hold up to light, you shouldn't see thinning or distortion in the weave
- Range of motion: Move through wearing motions without baby, does the repair stay intact when flexing?
If anything feels uncertain during these checks, stop immediately. It's heartbreaking to retire a favorite carrier, but not worth risking safety. Remember: extending carrier life only makes sense when safety remains uncompromised.
When Should I Retire My Carrier Instead of Repairing?
Look for these non-negotiable retirement signals:
- Fraying at any connection point (where straps meet panel)
- Stretched or weakened elastic components
- Faded or brittle fabric that no longer feels substantial
- Any modification that changed the original structure
- Carriers exceeding manufacturer's lifespan (typically 5-7 years)
That beloved carrier that got you through newborn snuggles might simply have given its all. I coach caregivers through these transitions often, there is grief in letting go of gear that carried you through tough moments, but true confidence comes from knowing when to step back.
Your Actionable Next Step
Don't let uncertainty about baby carrier repair guide options keep you stressed. Today, take just 5 minutes to:
- Lay out your carrier completely flat
- Run your fingers along every seam and connection point
- Perform the light test (hold to window/light source to check fabric integrity)
- Make a simple decision: repair minor surface issues using the safe methods above, or begin searching for replacement if structural elements are compromised
If you're still unsure after this check, contact the manufacturer directly, they'll often tell you definitively whether your carrier can be safely used. If you decide to replace your carrier, use our second-hand carrier safety checklist before buying used. And when you're ready to find a replacement, consider how upcycling baby carriers through responsible retirement (donating to organizations that accept only structurally sound carriers) extends their value safely.
Remember that competence we're building together? It grows through these small, intentional choices where you prioritize safety over sentiment. Check airway, then carry on.
Related Articles