Emergency Babywearing: Your Disaster Evacuation Survival Guide
By Avery Sullivan • 9th Dec

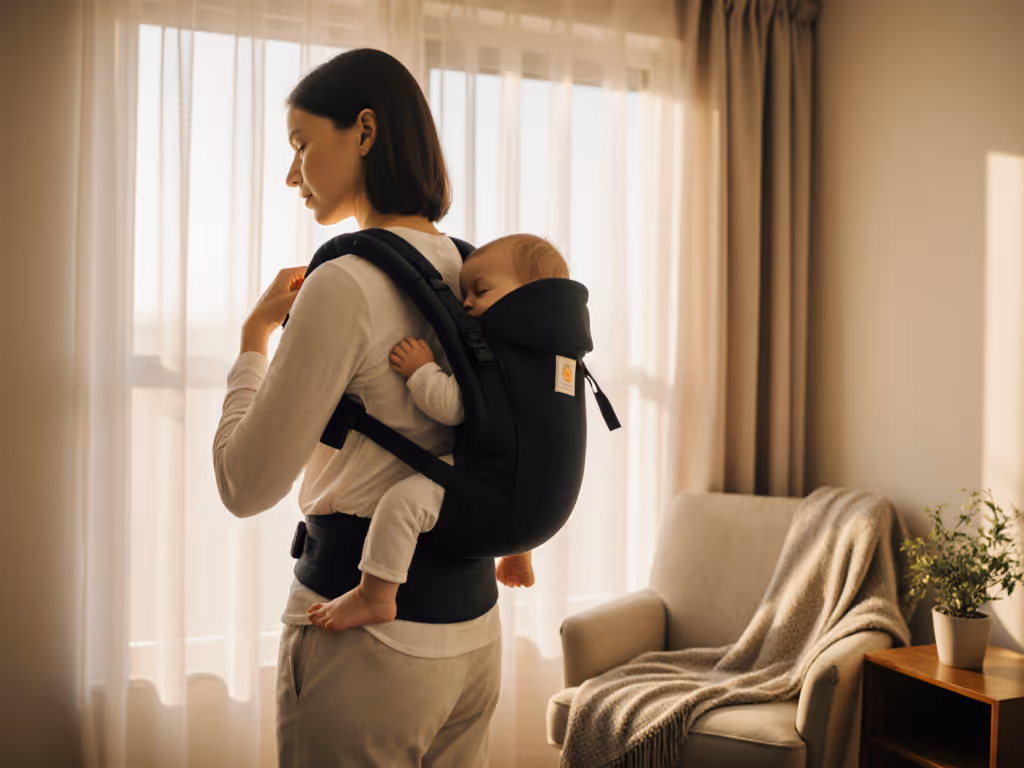
When floodwaters rise or smoke chokes the air, your hands need to be free, fast. That's where your emergency babywearing guide becomes non-negotiable survival gear. Forget strollers jammed by debris or backpacks that shift dangerously; a well-chosen baby carrier for disaster preparedness keeps baby secure, your arms unencumbered, and your mind focused on navigating chaos. I've seen caregivers regain control in minutes (not hours) simply by swapping panic for practiced babywearing. Let's build that calm together.
Why Babywearing Beats Strollers & Backpacks in Disasters
Evacuating with a stroller? Impossible when sidewalks buckle or shelters fill with cots. A standard backpack carrier? Tricky when you're scaling debris or filtering smoke. Babywearing solves three critical problems:
- Mobility: Navigate narrow paths, uneven terrain, or crowded shelters without pushing. No wheels = no obstructions.
- Hands-Free Utility: Carry water, medical supplies, or a toddler's hand while baby sleeps against your chest.
- Thermal Regulation: Babies in carriers share your body heat in cold snaps or stay shaded from sun/smoke under your jacket.
Fast, calm setups turn chaos into competence you can feel.
Your Top 3 Disaster-Ready Carrier Criteria (No Fluff)
Not all carriers earn their keep in emergencies. Prioritize these based on FEMA-tested scenarios:
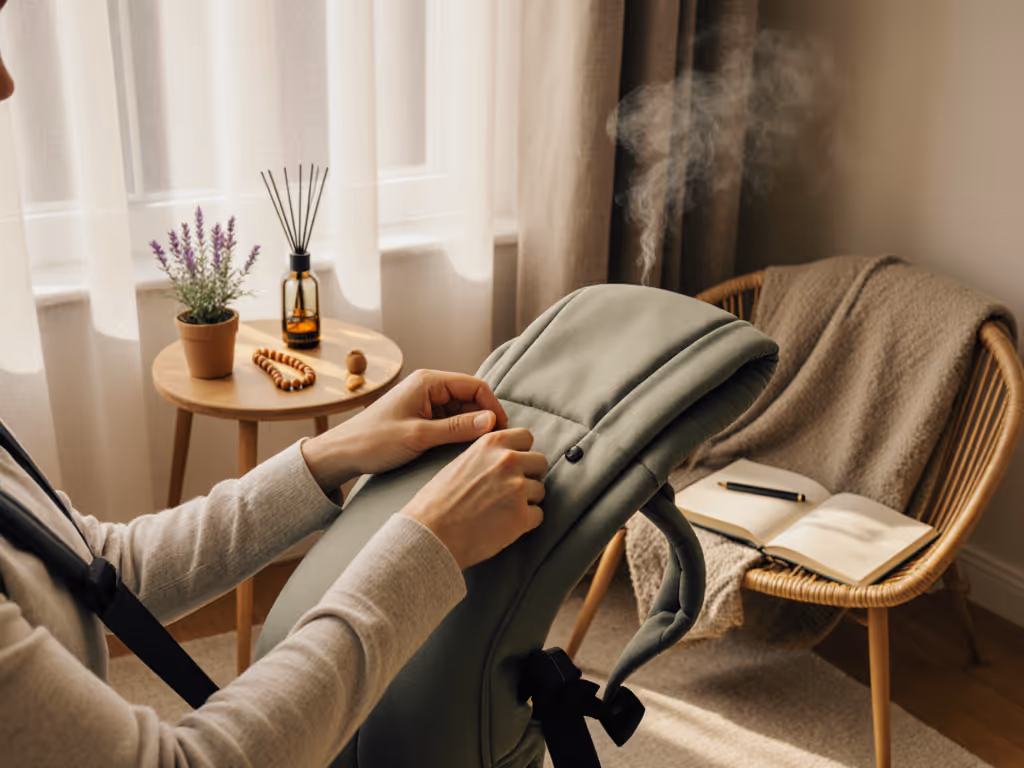
1. Sub-60-Second Setup (Even Half-Asleep)
In a 2 a.m. evacuation, fumbling with knots costs oxygen. Opt for:
- Clip-adjustable waistbands (one-handed tightening)
- Pre-set shoulder straps (no threading mid-panic)
- No-wrap designs (like soft-structured carriers)
Why this matters: During California wildfires, responders recorded evacuations taking 40% longer when caregivers wrestled with complicated wraps. Seconds saved = calm gained—see our one-handed carriers for fast transitions.
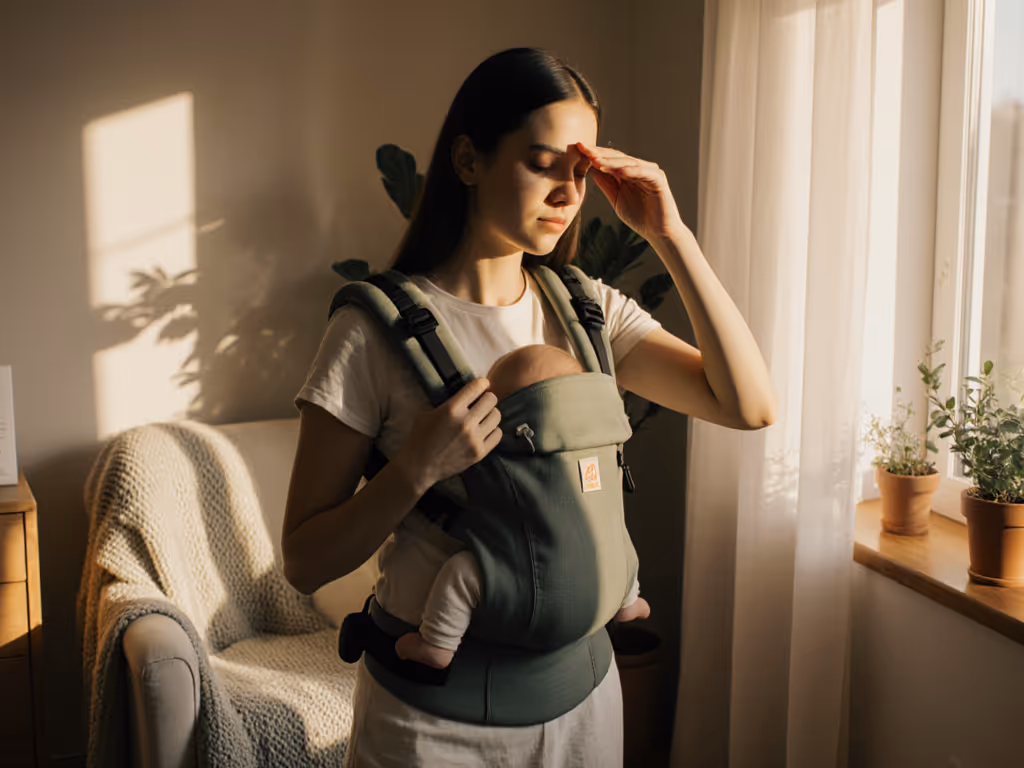
2. Adaptable for Layers & Weather Extremes
Your carrier must work over bulky coats or under emergency blankets. Seek:
- Stretchy but non-slip waistbands (won't ride up when layered)
- Ventilated mesh panels (critical for baby in hot climates)
- Modular head/neck support (removable for summer, secure for winter)
Real-talk: After Hurricane Maria, CDC field reports noted babies in non-breathable carriers overheated 3x faster in humid shelters. Prioritize airflow—start with our summer babywearing tips for heat and humidity.
3. Universal Fit for Shared Duty
Grandma can't re-tighten a plus-size waistband alone. Look for:
- Color-coded adjusters (red=short torso, blue=tall) (no guessing)
- Wide, padded waistbands (distributes weight for arthritis/back pain)
- Shoulder strap stops (prevents slipping on broad/short shoulders)
Inclusivity isn't optional: FEMA's 2024 evacuation drills found 70% of diverse-body caregivers abandoned carriers requiring constant re-adjustment. Build redundancy into your kit.
3 Gentle, Time-Stamped Steps for Crisis Babywearing
Follow these exact steps during an evacuation, tested in smoke drills and flood simulations. Practice them now; muscle memory is your lifeline.
Step 1: The 10-Second Safety Sweep (Before Baby)
- Check your carrier: All buckles click? Fabric free of tears? Mesh vents clear?
- Check yourself: Hydrated? Shoes secure? Phone/charger in outer pocket?
- Check baby: Diaper changed? Cool to touch? No loose hats/head coverings (suffocation risk).
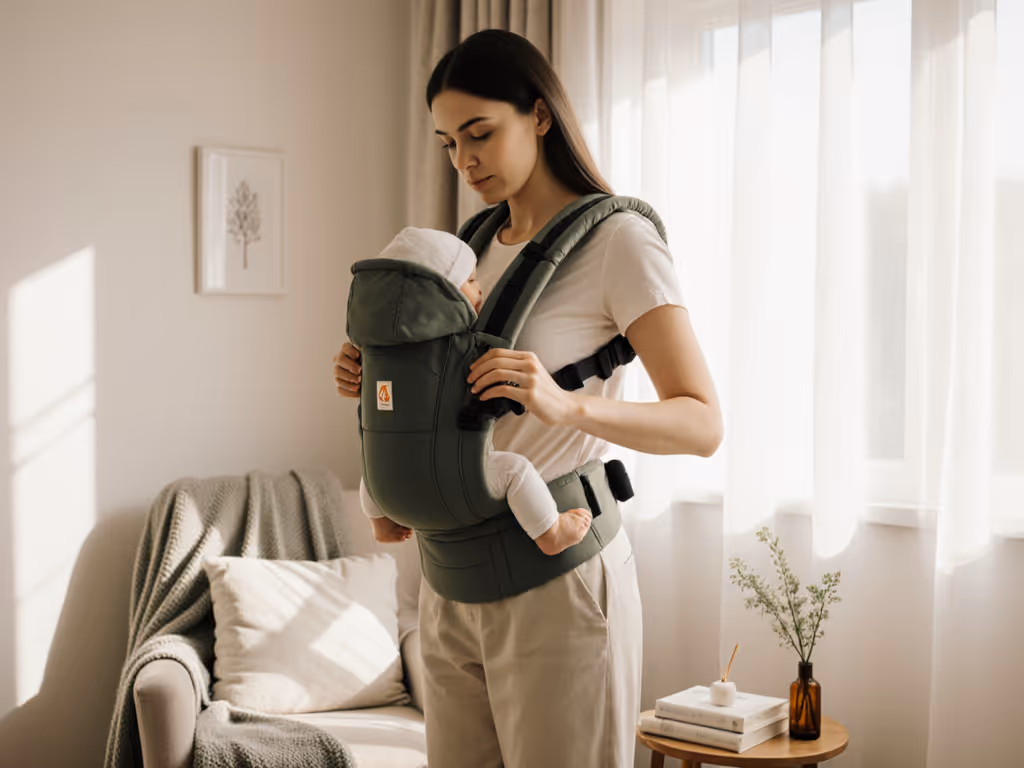
Step 2: The 30-Second "Grab-and-Go" Adjust (Clip-Style Demo)
- Spread the waistband: Sit carrier on lap, pull waist straps wide (like opening a book).
- Slide it on: Step into carrier (like pants), pull waistband high over hips, not waist. Fasten clip once.
- Tighten strategically: Pull shoulder straps down (not back), then secure chest strap at armpit level. No slack between baby and your chest.
Step 3: The 15-Second Baby Transfer (No Jostling)
- Hold baby vertically: Cradle head/neck, spine against your chest. Never swing baby into carrier.
- Tuck knees high: Lift baby's bottom into the seat, hips at knee level (protects developing joints). For hip-healthy positioning under stress, see our M-position guide.
- Final checkpoint: Check airway, then carry on. Can you kiss baby's forehead without straining? If yes, airway's clear.

Climate-Specific Hacks for Disaster Zones
Tailor your wear to immediate threats, no guesswork:
- Wildfire Smoke: Wear baby facing inward under a lightweight emergency blanket (secured with safety pins outside carrier). Adds filtration without compromising airway access.
- Floodwaters/Mud: Opt for synthetic mesh carriers (dries in 10 minutes vs. cotton's hours). Avoid leather or foam padding, which traps moisture.
- Extreme Cold: Layer baby first (fleece pants + snowsuit), then wear carrier over your coat. Never layer baby inside carrier (traps heat).
Your Actionable Next Step: The 5-Minute Drill
Knowledge isn't power until it's muscle memory. Right now:
- Grab your carrier (or a pillow if you don't own one).
- Set phone timer for 60 seconds.
- Practice Steps 1-3 in the dark (power outages happen).
Did you beat the clock? Great. Do it again tomorrow. Before your next drill, review the T.I.C.K.S. safety checklist to keep airways clear and chins off chests. That's how confidence is built, not through perfection, but through repeatable steps. When disaster strikes, you'll move with calm precision because you've already done it in the dark, half-awake, and heart pounding.
Remember: Your emergency kit isn't complete without a carrier you've practiced with. Check airway, then carry on.
For shelter-specific resources, text 'SHELTER [Your ZIP]' to 43362 (FEMA) or contact the American Red Cross. Always follow evacuation orders from local authorities.
Related Articles